By default, VaultGuard360 sends alerts from an Azure-managed address like DoNotReply@<guid>.azurecomm.net. You can replace this with a branded sender address — for example, alerts@alerts.contoso.com — by verifying a custom domain with Azure Communication Services (ACS).
The Azure-managed domain always remains as an automatic fallback. If sending via the custom domain fails for any reason, VaultGuard360 retries the message using the Azure-managed address so alerts are never silently lost.
Before You Begin
- You need access to your domain's DNS settings (via your registrar or DNS hosting provider).
- The domain must be a subdomain specifically allocated for email (e.g.,
alerts.contoso.com, notcontoso.comitself). Using a subdomain keeps your root domain's email reputation separate. - DNS propagation typically takes 15–30 minutes after adding records.
Step 1: Enter Your Domain
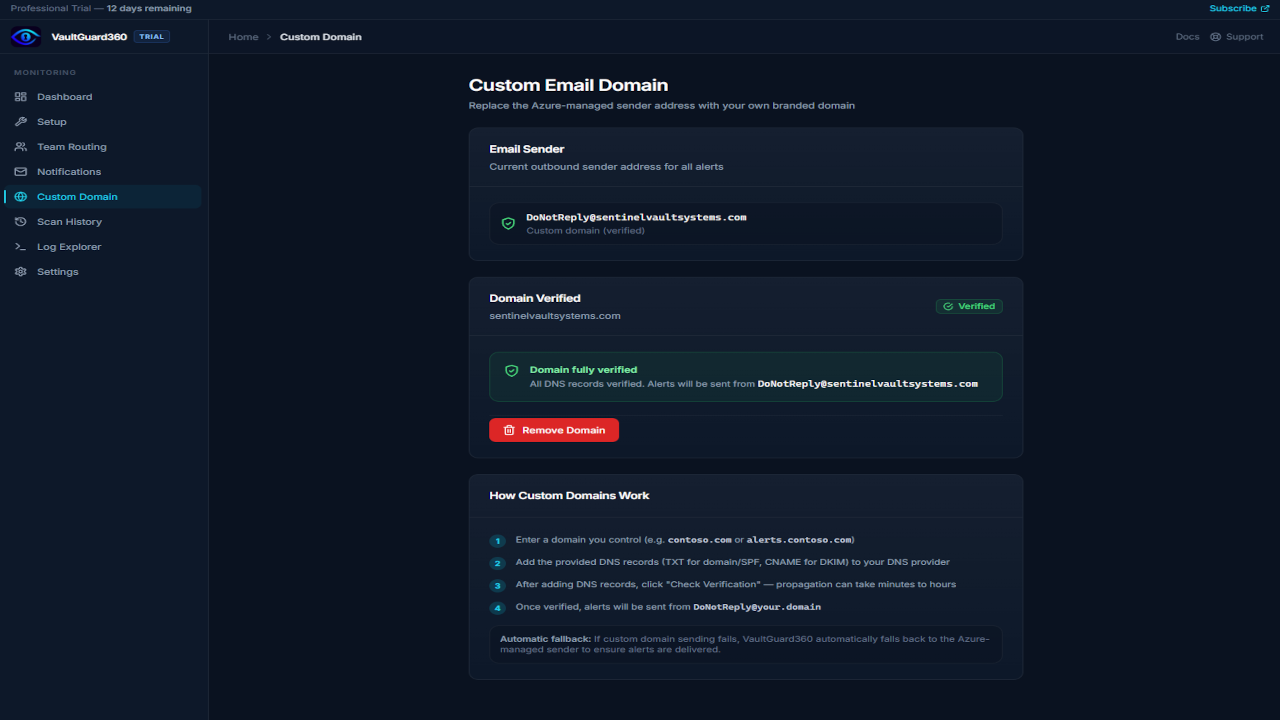
- Navigate to Dashboard > Custom Domain.
- Click Configure Custom Domain.
- Enter the subdomain you want to use as the sender domain (e.g.,
alerts.contoso.com). - Click Add Domain.
VaultGuard360 registers the domain with Azure Communication Services and returns four DNS records you need to add to your DNS provider.
Step 2: Add DNS Records
The dashboard displays four DNS records required for domain verification. Add all four to your DNS provider exactly as shown.
| Record | Type | Purpose |
|---|---|---|
| Domain ownership | TXT | Proves you own the domain to ACS |
| SPF | TXT | Sender Policy Framework — allows ACS to send email on your behalf |
| DKIM (selector 1) | CNAME | DomainKeys Identified Mail — cryptographically signs outgoing mail |
| DKIM (selector 2) | CNAME | Second DKIM selector for key rotation |
Each record row includes a Copy button for the Name and Value fields to minimize transcription errors.
Note: DNS changes take 15–30 minutes to propagate globally, sometimes longer depending on your DNS provider and TTL settings. The dashboard polls verification status every 30 seconds automatically — you do not need to refresh the page.
Step 3: Verify DNS Records
- After adding all four records to your DNS provider, return to Dashboard > Custom Domain.
- Click Verify DNS Records.
- The dashboard shows the verification status of each record:
- Pending — ACS has not yet confirmed this record
- Verified — ACS confirmed this record successfully
All four records must reach Verified status before the custom domain becomes active. The dashboard polls automatically every 30 seconds while verification is pending.
Once all records are verified, the dashboard shows the active sender address:
alerts@alerts.contoso.com
All subsequent alerts are sent from this address.
Removing a Custom Domain
To revert to the Azure-managed sender address:
- Navigate to Dashboard > Custom Domain.
- Click Remove Custom Domain and confirm.
VaultGuard360 deletes the ACS domain resource and reverts all outgoing email to the Azure-managed sender address. The four DNS records you added to your registrar can be deleted at any time after removal — they are no longer needed.
Common DNS Propagation Issues
Verification stuck on "Pending" after 30+ minutes
-
Verify the records were added to the correct subdomain. If your sender domain is
alerts.contoso.com, the records should be added toalerts.contoso.com— notcontoso.com. -
Check for typos using a DNS lookup tool:
# Check TXT records dig TXT alerts.contoso.com # Check CNAME records dig CNAME <dkim-selector>._domainkey.alerts.contoso.com -
Some DNS providers have a propagation delay of up to 2 hours even with low TTL values. If records look correct in a dig query but verification still fails, click Re-check Verification to trigger a fresh ACS verification attempt.
SPF conflict with existing SPF record
If alerts.contoso.com already has a TXT record starting with v=spf1, you cannot add a second one — DNS only allows one SPF record per name. Merge the ACS include: mechanism into your existing SPF record:
v=spf1 include:spf.protection.outlook.com include:spf.communication.azure.com ~all
CNAME conflict
CNAME records cannot coexist with other record types on the same name. If a CNAME verification fails with a conflict error, check whether any A, AAAA, or MX records exist at the same name.
How Fallback Works
If a custom domain is configured and verified but an alert fails to send (for example, the ACS domain resource is suspended or the subdomain's DNS is misconfigured), VaultGuard360 automatically retries the message using the Azure-managed sender address. This ensures alert delivery is never blocked by custom domain issues.
The fallback is transparent — the recipient sees the Azure-managed address on the retry, but the alert content is identical.
Troubleshooting
"Domain already exists" error when adding a domain
The domain may have been partially configured and not cleaned up. Navigate to the Azure portal, find the ACS resource (acs-vg360-<suffix>), and check for an existing custom domain under Email > Domains. Delete it there, then retry in the VaultGuard360 dashboard.
Verified domain stops sending after working initially DNS records may have been removed from your registrar, or the domain's TTL expired and the records were not served during ACS re-verification. Re-add the DNS records if missing, then click Re-check Verification in the dashboard.
Custom domain setup option not visible
Ensure your Function App's managed identity has the Communication and Email Service Owner role on the ACS resource. This role is needed for control-plane operations (domain management) but is not required for basic email sending via ACS_CONNECTION_STRING.